Create a Drawstring Laundry Bag

Repurpose Old Pillowcases into Handy Stuff Sacks
 When traveling I like to have a place for my dirty clothes, and hate mixing them with clean ones when it’s time to pack up for home. Hotels often provide plastic bags for this purpose, but I bring my own when camping or staying on the cheap.
Since I avoid buying plastic, I bring an old pillowcase or two instead. (We always have a few from retired sheet sets.) They work great and are just the right size, but the clothes had a tendency to spill out—especially when thrown in the trunk of our car. So, I decided to add a drawstring to make them more functional.
Because I love art projects, I decided to decorate the bags with lettering. It was fairly easy and fun, and would be a great project for kids. I used supplies I had in my craft artillery, preferring what I have on hand than buying new, but they can all be found in any arts & crafts shop like JoAnn Fabrics or Michael’s.
The following instructions are for the simple lettered version, but you can add all the embellishments you’d like—anything from stencils to freestyle art, as long as you use fabric pigments.
Supply List:
- Pillowcase (make sure the fabric isn’t worn; fix any torn seams)
- Matching or contrasting thread
- Pins
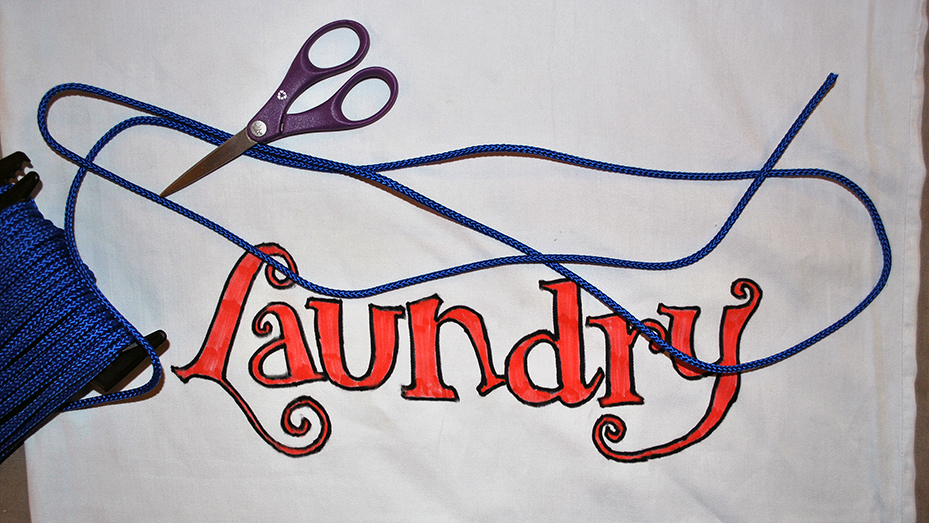
- Nylon cord for drawstring
Optional:
Construction:
If you plan to decorate your laundry bag, do it before adding the drawstring. It will be easier.
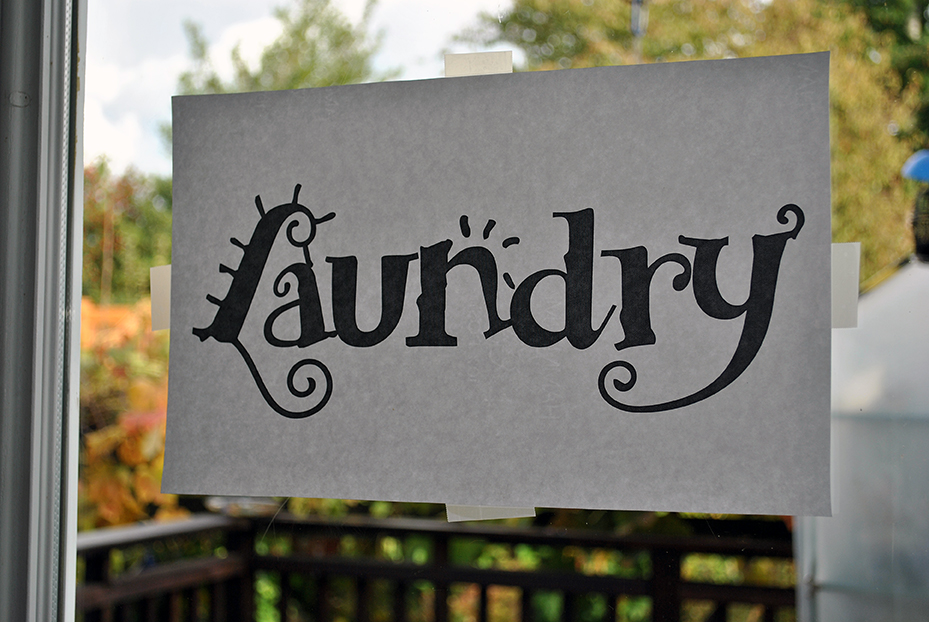
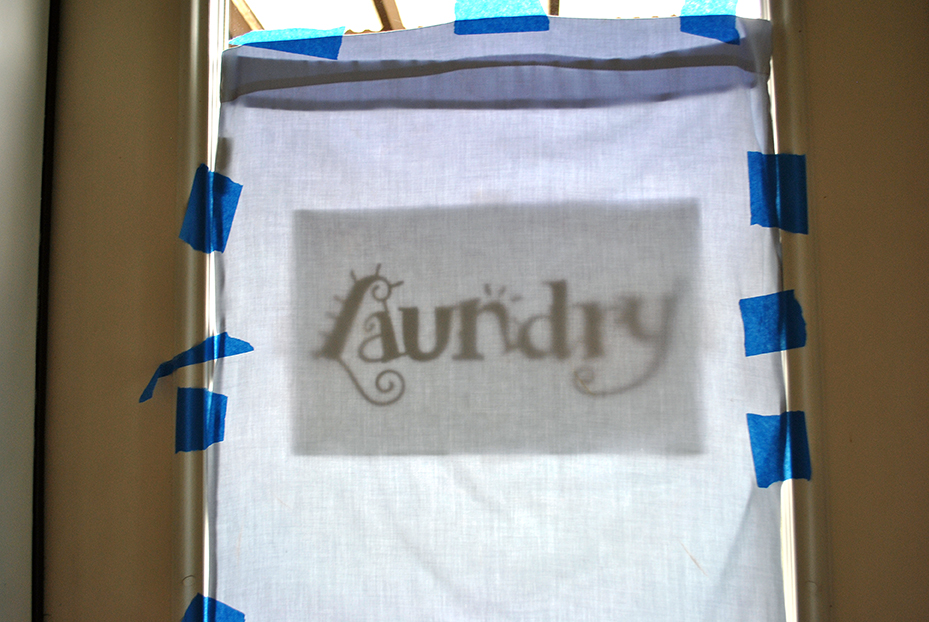
I decided to use a fun font I had—Remedy Double—for my lettering. Its irregular strokes lend themselves well to hand tracing. I used a page layout program to make it fit the length of a legal size sheet of paper and printed it out. I don’t have a light box, but a window works almost as well. I taped my paper to the glass, then used painter’s tape to position the pillowcase over it, being careful to place the lettering where I wanted it. The image was very legible and could be easily traced.
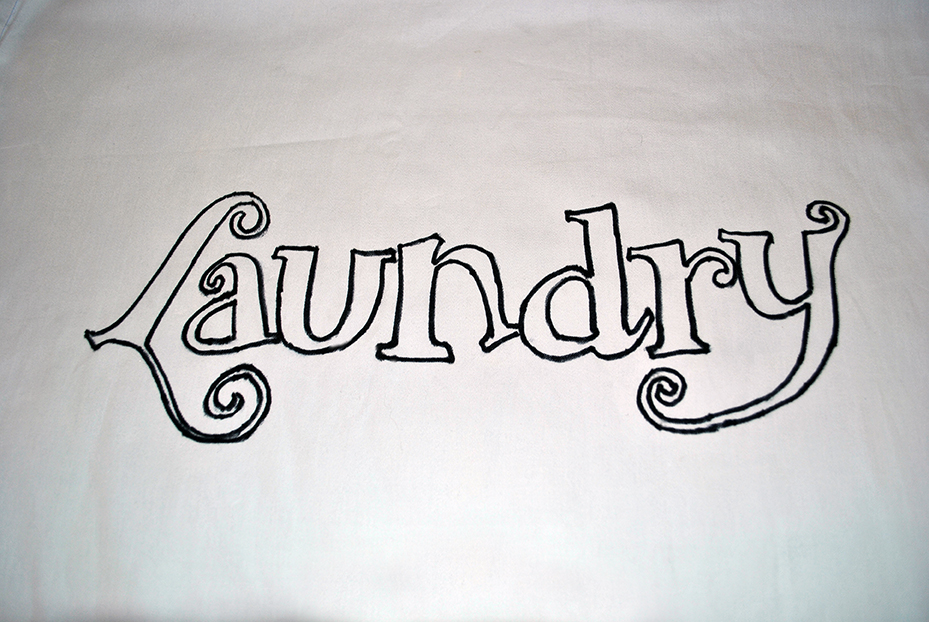
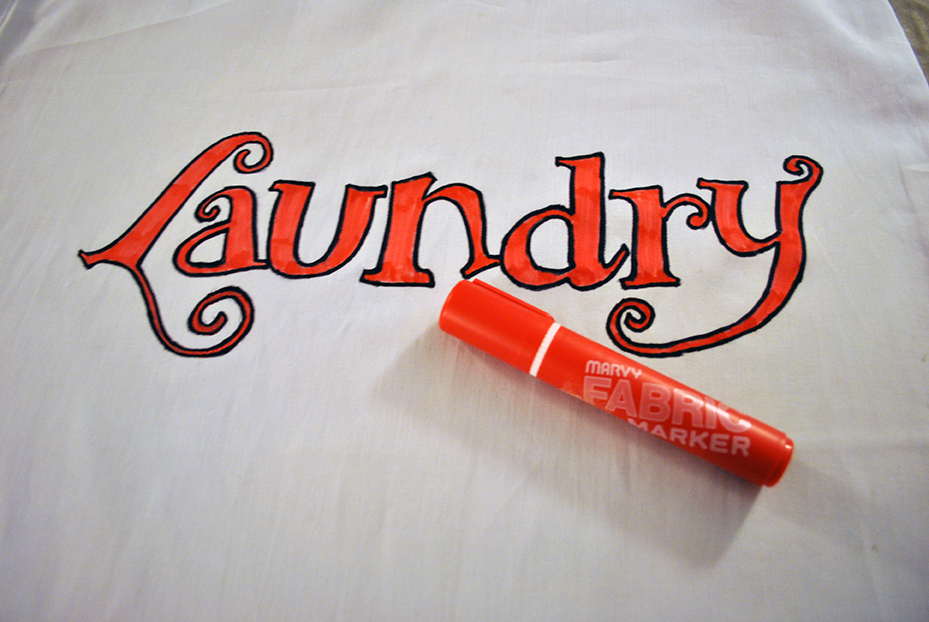
Using a fabric marker, I outlined the lettering in black as carefully as I could. When finished, I removed it from my “light box” and filled in the letters with a red-orange. If you’re worried about bleed-through, it’s a good idea to put a piece of plastic between the two layers of fabric. The kind used for microwave covers works great.
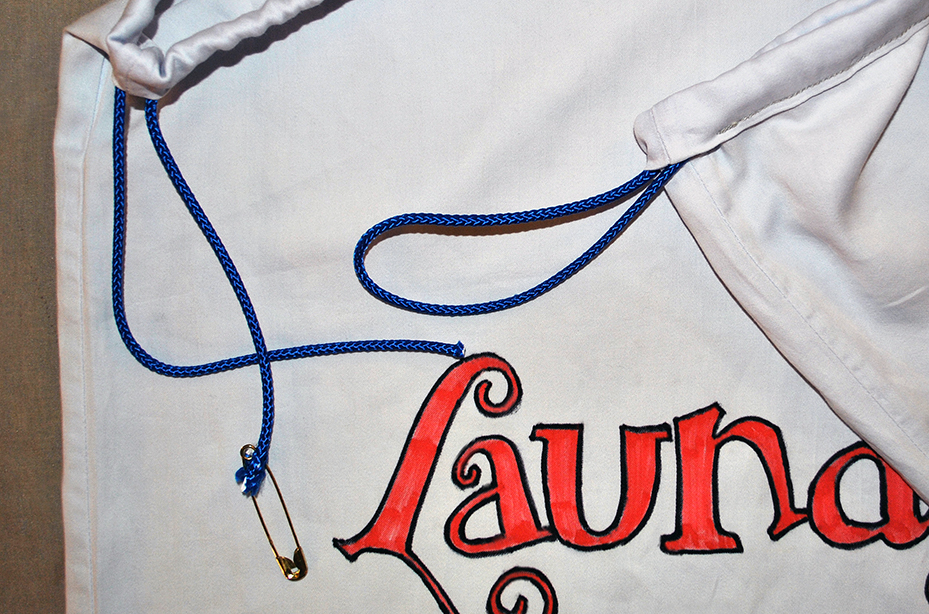
After I was certain the marker was dry, I set the image by ironing it through a piece of scrap cotton. Then I folded over the opening of the pillowcase to the outside to create a casing for the drawstring. I matched the outer edge to the seam of the hem for ease. That way I didn’t have to measure it! I pinned it at regular intervals to hold it in place, being careful to stop about 3/4-inch from EACH of the side seams. I used light gray thread to top-stitch the casing in place, leaving a 1½-inch opening in the casing at BOTH sides of the pillowcase.
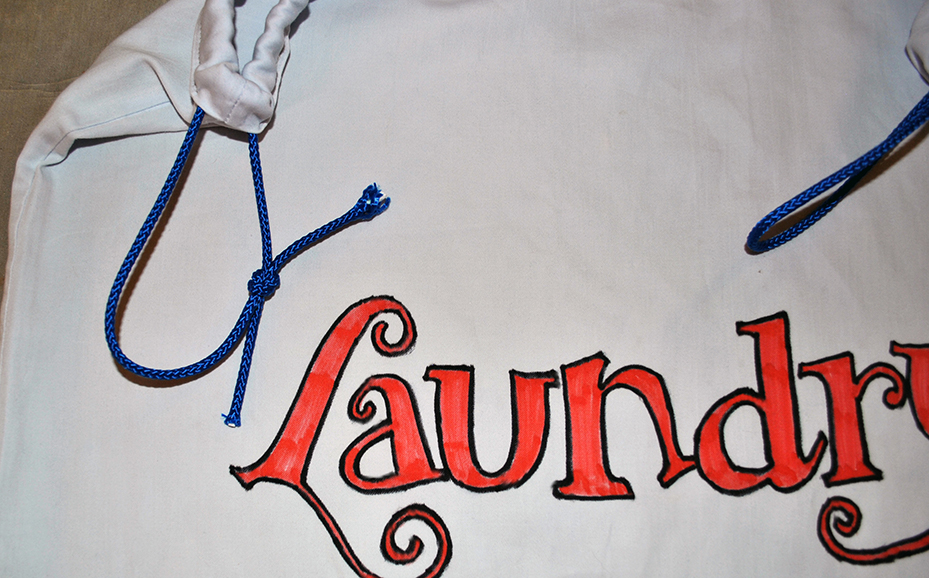
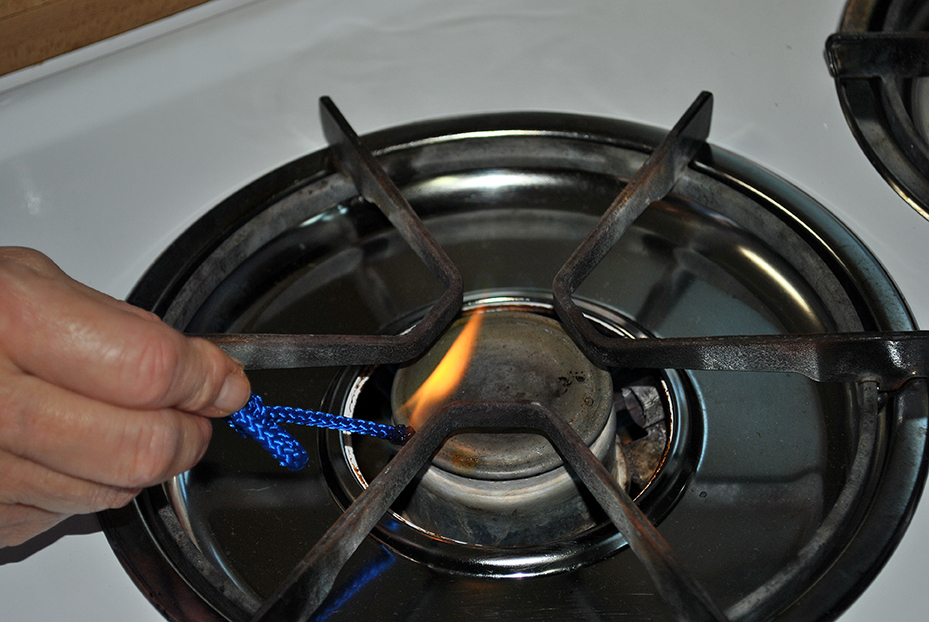
Next, I cut my nylon cord to about three times the width of the pillowcase. Using an old kilt pin I’ve had since the 1970s, I guided one end of the cord through the casing, past one opening and out the other, so both ends were on the same side. I secured the ends with a tight square not, leaving about 1½ inches past the knot. Since I used nylon cord, I finished the ends by holding them briefly in the flame from my gas stove, then immersing them quickly into a glass of water. The flame melts the nylon just enough so it won’t fray.
The finished product was just what I had hoped for—functional and cute. The drawstring pulled easily from both sides of the bag, and was strong enough to hold a lot of clothes when hanging from a hook. And, it would make a great gift for a college student or anyone who travels a lot.
I decided to make one more with freehand lettering. I used a No. 2 pencil and a ruler to mark some guidelines, and lightly sketched the letters in my own simple calligraphy (I studied it in college, so it was easy for me). You could also use a font as reference if you’re good at copying by eye.
I traced over the pencil with a darker fabric marker (again, using a thin sheet of plastic between the pillowcase layers to prevent bleed-through). It looked good, but I wanted to dress it up even more. Rummaging though my craft box, I found some fabric paint leftover from another project, and a flower “stamp” my daughter had cut from a sponge nearly a decade ago. I coated the stamp with blue paint and pressed it onto the pillowcase in a random pattern, then added a thick orange dot to the center of each flower. After the design had dried, I set it with the iron, and added a casing, using contrasting thread this time.
I got to exercise my artistic side and created two new laundry bags in a short afternoon.
- Words by Andrea Leigh Ptak
- October 28, 2014
- 9 Comments


The first thing I pack when I travel is a sack for my dirty clothes. This is a good way to use up and repurpose old pillow cases
Another wonderful post!
Great idea Andie! Love the lettering idea too.
Thanks. I miss hand lettering…and those wonderful calligraphy classes.
Me too! Who was our calligraphy teacher? I’ve forgotten her name, she was fabulous! Except that I didn’t like her keeping our best art pieces! Wish I still had them!
Ruth Gütfrücht (not certain of the spelling). She was my mentor and the best teacher I ever had. She kept most of the work I did sophomore year.
These are so cute! Great idea. I love the stenciling.
Thanks! I think I’ll make one for pillows too. We always bring our own pillows when we travel by car.
Great idea! I have to admit that when I travel, I never think to bring my own bag, so I always end up taking one of those plastic laundry bags from the hotel. Of course, I recycle it when I get home, but still, your homemade laundry bag would be so much better!