Time to Start Sunflowers

Sunny Annuals Create Food for Bees and Birds in Late Summer
While weeding last week, I spotted my first volunteer sunflower pushing its way through the soil. That is always my signal to start my sunflower seeds for summer planting. I’ve learned to identify the pale green bi-leafed seeding and weed around it so it can grow and thrive while awaiting its cousins.
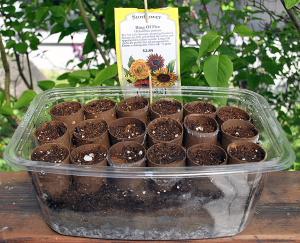
 This year, I decided to try a technique I’d seen on Pinterest using repurposed cardboard cores from toilet paper rolls and a plastic box that once held salad greens. First, I cut each roll in half—easily done with a pair of scissors. I needed 18 “pots” per container (the plastic box), and a whole roll was too tall.
Next, I prepared the planting box. I started with a layer of gravel for drainage—about an inch or so. To that I added about an inch of garden soil as a base for the cardboard roll “seed pots.” The rolls fit nicely, three across and six deep with just a bit of space between each for air.

I filled each pot with seed starter soil, and compacted it in fairly well. I didn’t worry if some fell around the outsides of the pots, as it helped to hold them up and retain moisture. With the eraser-end of a pencil, I made a hole in each pot about a half-inch deep. I drew a line with a Sharpie on the pencil to make it easy.
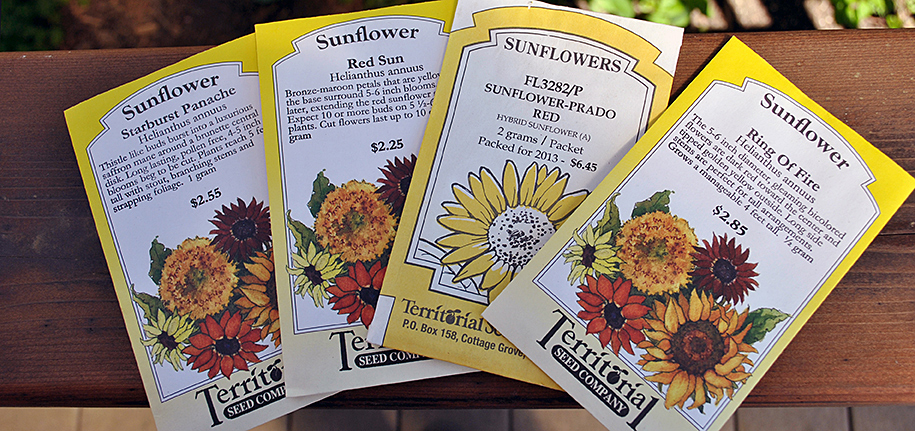
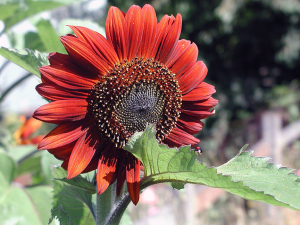
 My pots were ready! Now I just had to decide which seeds to start. We had purchased a few packets from Territorial Seeds—our favorite source here in the Pacific Northwest. I also had a seed head from one of last year’s crop—a stunning red sunflower called Prado. I chose seeds from it and Territorial’s Ring of Fire; it will be interesting to see which germinates first.
I popped one Territorial seed in each hole of one box (the seeds are expensive). I used two of the Prado in the other in case one doesn’t come up; I’ll thin to the best one. I covered the seed with more soil and watered it in using a glass sparkling water bottle with holes punched in the cap for a pinpointed gentle soak.
 A wood skewer makes a great stake for the flower packet. It identifies the variety of seed and keeps planting instructions handy. An old plant marker with the name written on a 1 x 3” mailing label identifies the Prado.
We have a small freestanding greenhouse on our deck, so I put my soon-to-be seedlings in there to keep them warm at night and sheltered from the rain. If you don’t have one, don’t worry. Just pop on another empty salad greens box for an instant mini-greenhouse.  The top can be secured by punching a small hole at each end of the lip in both the top and bottom, and fasten with a twist-tie (hopefully you save them). Check daily to make sure the soil stays moist. Depending on the variety, you should see seedlings within a week. I’ll blog about planting them soon! Till then, read about the benefits of sunflowers in your garden at The Great Sunflower Project’s website here. You’ll learn all about supporting pollinators in your garden!
- Words by Andrea Leigh Ptak
- May 1, 2014
- 5 Comments
So creative. I hadn’t thought of this technique but will be using it next year. You are so methodical and organized. coudl you duplicate yourself and come here for a few days and share your tips?
You’re too kind, thank you!
That technique looks interesting. I might want to try it. I’ve got a lot of “volunteers” poking up too.
Awesome Andie! I’ll look for territorial seeds when I’m in tine next, tho most likely I’ll have to order them. Great use for all starters, using toilet paper rolls, or even paper towel?
I get volunteers from my bird feeder. Love the Prado! I want to try this!